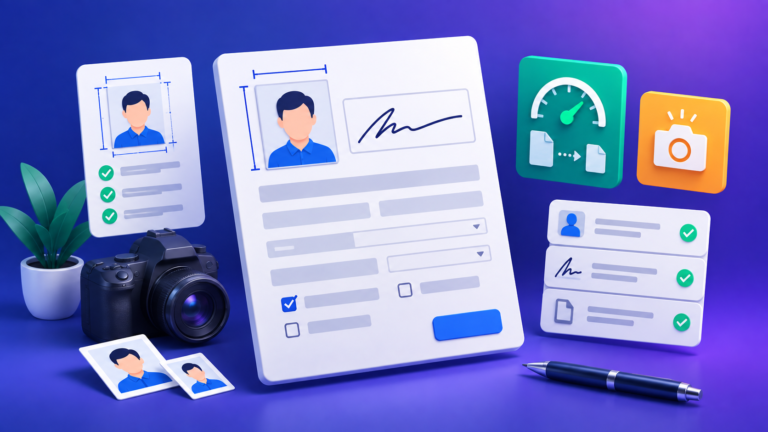
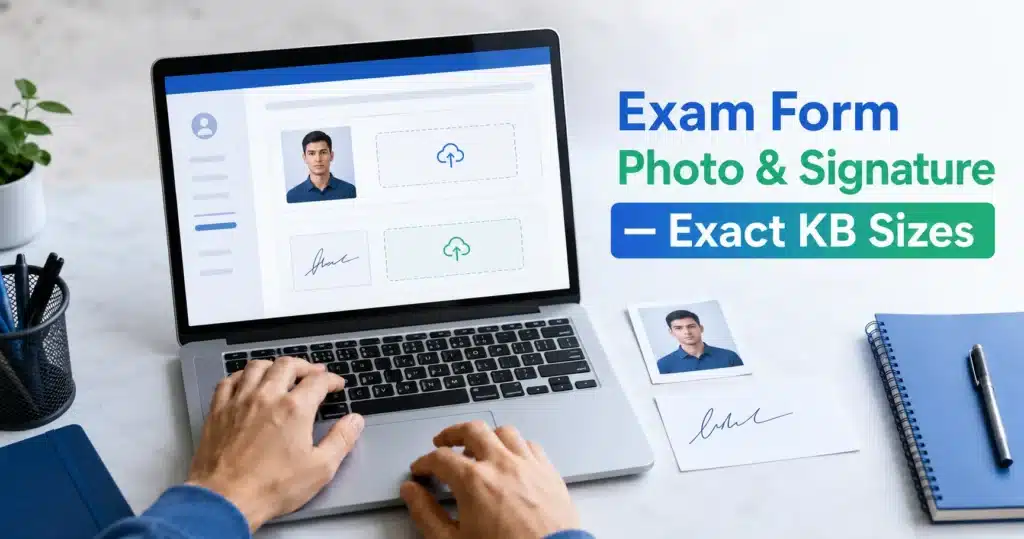
Every year, thousands of applications get rejected at the final step for the same silly reason: “Photo must be between 20KB and 50KB” or “Signature must be 140 × 60 pixels.” Your photo is fine — it’s just the wrong file size.
Quick answer: resize to the exact pixels with the Image Resizer, then compress into the KB range with the Image Compressor. Both are free, need no sign-up, and run entirely in your browser — your photo and signature never leave your device.
1The 2-minute method (works for any form)
- Fix the dimensions first Open the Image Resizer, upload your photo or signature, and enter the exact width and height the form asks for — e.g. 200 × 230 pixels for the photo, 140 × 60 for the signature. Download the result.
- Then fix the file size Open the Image Compressor, upload the resized image, then choose a target size near the top of the allowed range (for example 18KB for a 10–20KB signature). The target is a ceiling, so check that the size it reports is above the minimum too. Download.
- Check the format Most Indian exam forms require JPG/JPEG. If your phone saved a PNG, HEIC or WebP file, convert it first with the Image Converter.
Order matters: always resize first, compress second. Resizing after compressing can push the file size back out of range — and costs you quality twice.
2Which size does your exam want?
Each exam sets its own sizes, and several changed for 2026: SSC CGL and the Railway boards now capture a live photo from your webcam or phone instead of taking a photo file. Our exam photo and signature size chart covers SSC, UPSC, IBPS, SBI, RRB, NEET, JEE Main and CUET, each taken from the exam’s own notice. The most common sizes:
| Exam | 📷 Photo | ✍️ Signature |
|---|---|---|
| IBPS / SBI (bank) | JPG, 20–50KB, 200 × 230 px | JPG, 10–20KB, 140 × 60 px (preferred) |
| NEET, JEE Main (NTA) | JPG, 10–200KB | JPG, 10–100KB |
| CUET UG (NTA) | JPG, 10–200KB | JPG, 10–50KB |
Bank exams also ask for a left thumb impression (20–50KB, 240 × 240 px) and a handwritten declaration (50–100KB, 800 × 400 px). The same method works for those. Always confirm against your own exam’s notice, because the specs change between cycles.
3Get your signature to 10–20KB
- Sign on plain white paper with a black pen. RRB rejects any other ink colour, and UPSC and IBPS ask for black too. Make it large — it will be shrunk, and small signatures turn into unreadable smudges.
- Photograph or scan it in good, even light — no shadows across the paper.
- Crop tightly to just the signature (plus a little white margin) with the Image Cropper.
- Resize to the required pixels (often 140 × 60 px) with the Image Resizer.
- Compress into range with the Image Compressor, with a target of about 18KB. A 140 × 60 signature is often under 10KB even at top quality; if yours is, resize to 280 × 120 px (the same shape) and compress again.
4Get your photo to 20–50KB
- Start from a passport-style photo — plain light background, face straight to camera, no caps or dark glasses.
- Resize to the required dimensions — 200 × 230 px for IBPS and SBI. The Resizer works in pixels, so if a notice gives centimetres, convert them first (the size chart shows how).
- Compress to the KB range. Still too big at reasonable quality? Your dimensions are larger than needed — go back and resize smaller first.
5Why forms reject your file — and the fix
- “File size too large” — compress it. If compression alone isn’t enough, the dimensions are too big; resize first.
- “File size too small” — yes, forms reject files under the minimum too. Re-export at higher quality or slightly larger dimensions until you clear the minimum.
- “Invalid format” — the form wants JPG but your phone saved HEIC or WebP. Fix it with the Image Converter.
- “Invalid dimensions” — width and height must match exactly. Type exact numbers into the Resizer; don’t eyeball it.
- Blurry after compression — you compressed too hard. Aim for the top of the allowed range: 45KB looks far better than 21KB when 20–50KB is allowed.
- DPI requirement — some forms want 200 DPI for scanned photos. Set it last with the DPI Changer.
6Is it safe to upload a signature to an online tool?
Be careful — a signature is sensitive, and many “free resizer” sites upload your image to their servers. The AMTake Image Resizer and Image Compressor process everything inside your browser: the image never leaves your device, nothing is stored, and they keep working even if you go offline after the page loads.
7Frequently Asked Questions
How do I resize my signature to 20KB for SSC?
Crop the signature tightly, resize it with the Image Resizer to the size your notice implies (the SSC CGL 2026 notice says about 6.0 × 2.0 cm in one place and 4.0 × 2.0 cm in another; at 200 DPI that is 472 × 157 or 315 × 157 px), then set a target of about 18KB in the Image Compressor. Download as JPG.
How do I make my photo exactly 200 × 230 pixels?
Open the Image Resizer, choose “An exact width and height”, enter 200 and 230, and download. Crop the photo to roughly the right proportion first so the face doesn’t stretch.
My photo is 2MB. Can I really get it under 50KB?
Yes. Most of that 2MB is unnecessary resolution. Resizing to 200 × 230 px removes most of the weight on its own; compression then lands it comfortably inside 20–50KB.
What DPI should exam photos be?
Most online-only forms check pixels and KB, not DPI. Where DPI is specified (usually 200), set it with the DPI Changer after resizing and compressing.
Do these tools add a watermark or need an account?
No. All AMTake tools are free, with no watermark, no sign-up and no upload — processing happens in your browser.
Two minutes, and your form will accept the files on the first try.