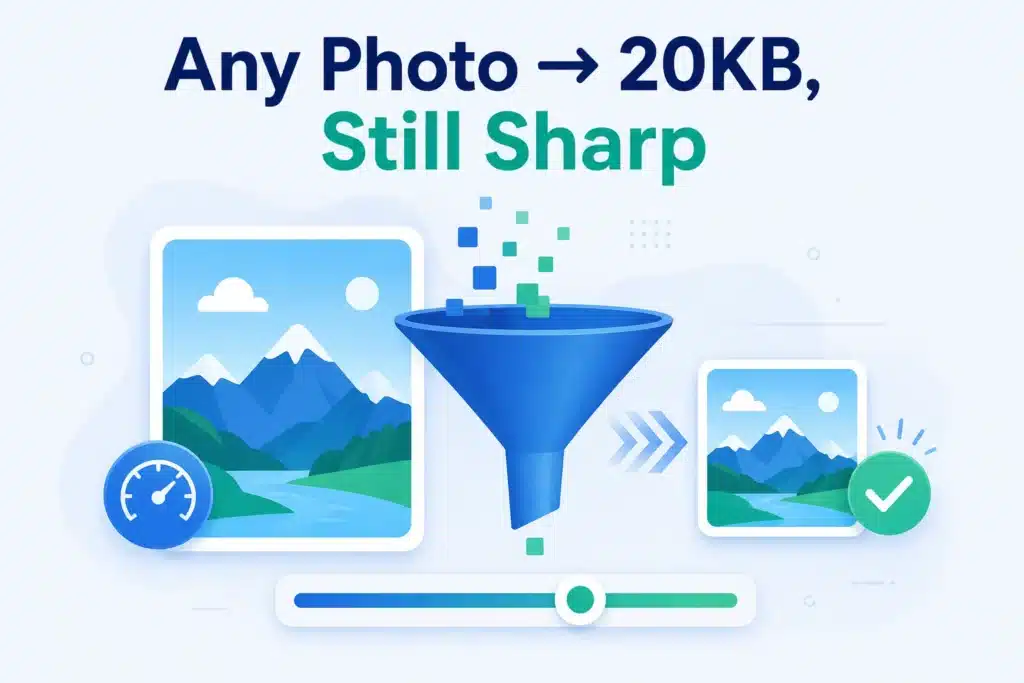
A 20KB limit sounds impossible when your phone photo is 4MB — that’s 200× too big. But 20KB is entirely achievable with sharp results, if you shrink the image the right way. The secret is one rule: resize the dimensions first, compress second.
Quick answer: resize the image to smaller dimensions with the Image Resizer (that removes 90% of the weight), then use the Image Compressor’s quality slider to land just under 20KB. Free, no watermark, and the image never leaves your browser.
1Why compressing alone doesn’t work
File size is driven by pixel count × quality. A 4000 × 3000 phone photo has 12 million pixels — no quality setting gets that under 20KB without destroying it. But at 600 × 450 (perfectly fine for a form upload or profile picture), only moderate compression is needed. That’s why the order matters:
- Resize the dimensions In the Image Resizer, set the size the destination actually needs — 600px wide is plenty for most uploads, 200–300px for photos and signatures on forms.
- Compress to the target In the Image Compressor, move the quality slider until the live size readout shows just under 20KB. Stay as close to the limit as possible — that’s where the quality is.
- Save as JPG PNG is the wrong format for photos — it’s often 5–10× bigger at the same look. If your file is PNG, HEIC or WebP, convert it with the Image Converter.
2What dimensions to use for each KB target
Rough starting points for a JPG photo at good quality:
| Target size | Start around | Typical use |
|---|---|---|
| 10–20KB | 200–400 px wide | Form photos, signatures, thumbnails |
| 20–50KB | 400–700 px wide | Profile pictures, ID photos, avatars |
| 50–100KB | 700–1000 px wide | Documents, email attachments |
| 100–200KB | 1000–1600 px wide | Web images, listings, portfolios |
Uploading to an exam or government form? Those forms usually demand exact pixel dimensions too, not just KB. Follow the dedicated exam-form photo & signature guide for the exact specs per exam.
3Keeping it sharp at tiny sizes
- Crop before resizing. Cut away background with the Image Cropper so your 20KB budget is spent on the subject, not empty space.
- Aim for the top of the range. If the limit is 20KB, a 19KB file looks visibly better than a 9KB one.
- Don’t compress twice. Each save at low quality adds artifacts. Go back to the original and redo it in one pass if you need a different size.
- Text in the image? Screenshots and documents survive compression better in higher dimensions with stronger compression than the reverse.
4Is it private?
Photos and signatures are personal. The AMTake Image Compressor and Image Resizer run entirely in your browser — nothing uploads, nothing is stored, and they work offline once loaded. Compress family photos or ID scans without them touching any server.
5Frequently Asked Questions
How do I compress a JPG to exactly 20KB?
Exact size isn’t needed — limits mean “under”. Resize to sensible dimensions, then nudge the quality slider until the readout sits just below 20KB.
Can I get a photo to 20KB without losing quality?
At small display sizes, yes — visually. Resizing to the dimensions the upload actually displays keeps the image sharp; it only looks degraded if you keep huge dimensions and rely on brutal compression.
Why is my PNG still huge after compressing?
PNG is lossless — the quality slider barely affects it. Convert photos to JPG first with the Image Converter; PNG is only right for logos, screenshots with text, and images needing transparency.
How do I compress to 50KB or 100KB instead?
Same two steps, different numbers — use the dimension table above as your starting point and set the slider to your target.
Does it work on a phone?
Yes — both tools run in any modern mobile browser, so you can fix a rejected upload on the spot.
Resize first, compress second — 4MB to 20KB without the mush.